Create Personal Shortcuts with Fig
Create visual shortcuts for your most commonly used commands.
To do this, we are going to create a completion spec for a CLI tool that doesn't exist.
For this example, we are going to use + as our trigger, although, you can use whatever characters you'd like.
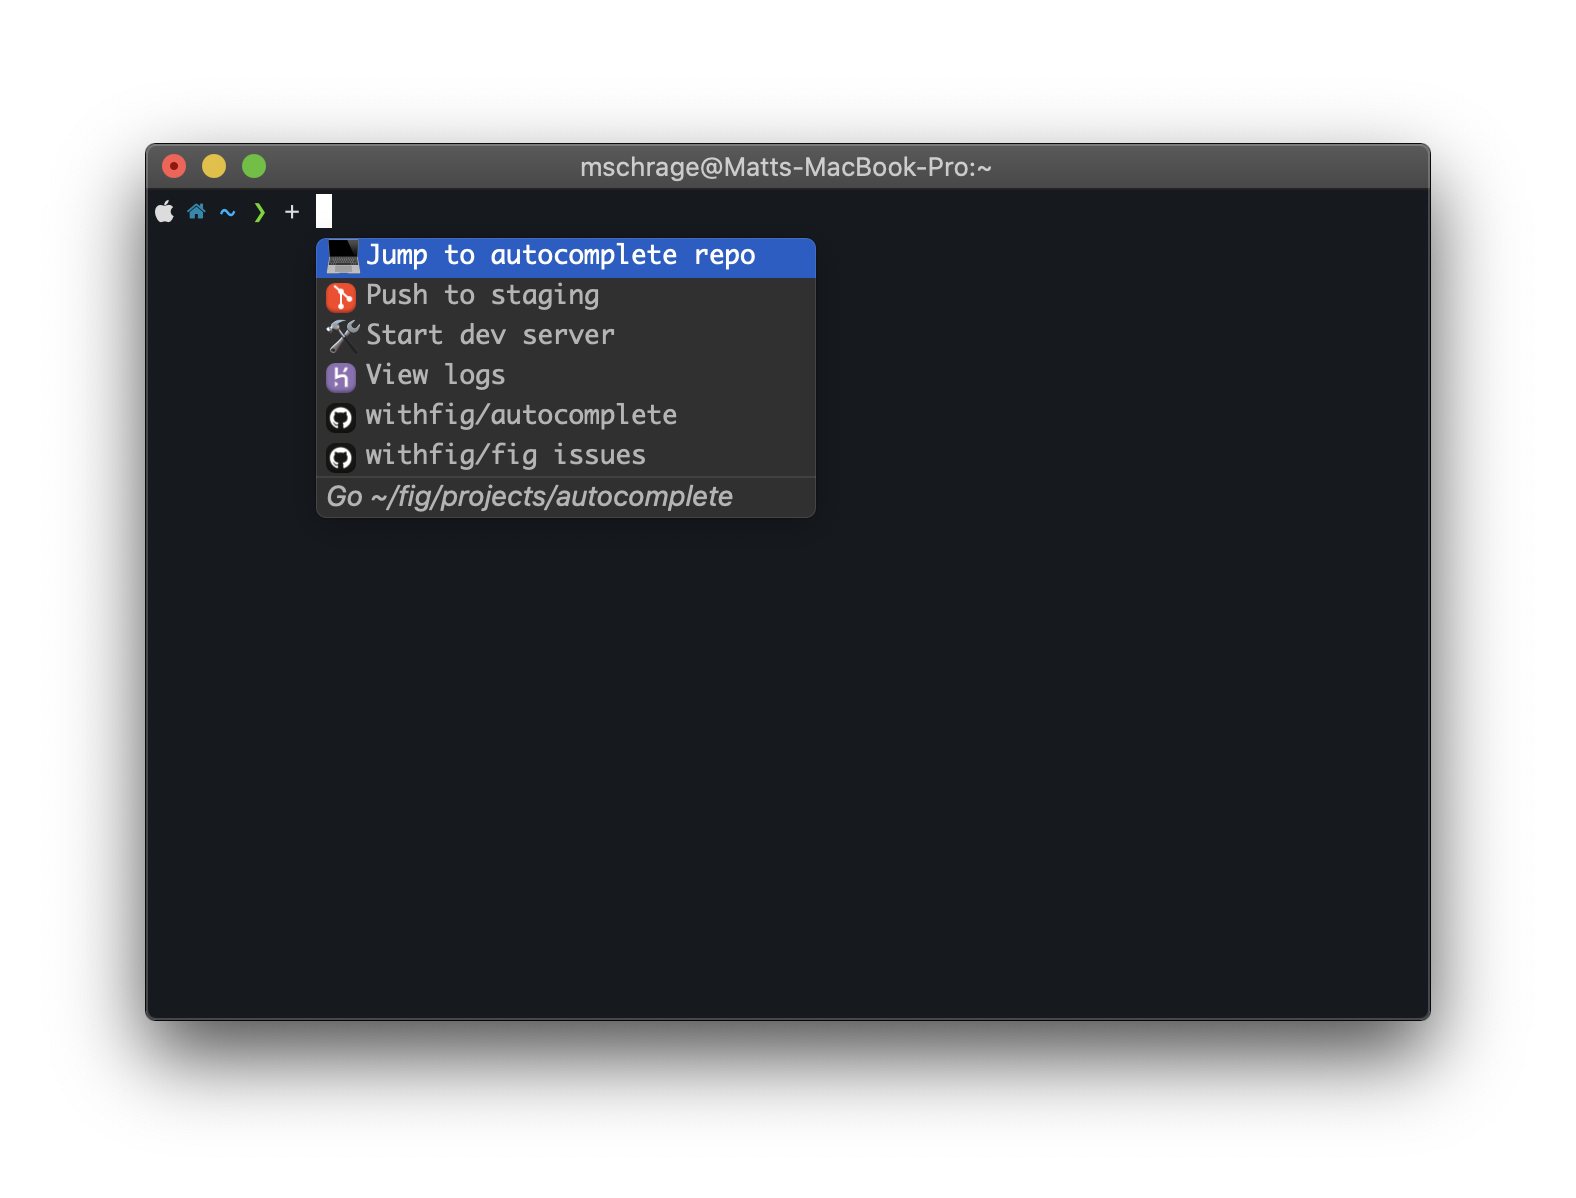
Now when we type +[space] into the terminal, our custom shortcuts will appear.
Tip: You can run the following command in your terminal
fig settings autocomplete.personalShortcutsToken <trigger>to configure which token will trigger personal shortcuts.
Set up your dev environment
Go to your home directory and run the following command:
npx @withfig/autocomplete-tools@latest init
This will create a ~/.fig folder as described in our setup dev environment guide.
We will be working in the ~/.fig/autocomplete folder.
Create a new spec called +.ts
cd into the .fig/autocomplete folder that was created and run the following command:
npm run create-spec +
This will create a +.ts completion spec in the .fig/autocomplete/src/ folder.
Create Some Shortcuts
Here is a dummy list of shortcuts we use at Fig. Copy the following into your src/+.ts file.
const completionSpec: Fig.Spec = {
  name: "+",
  description: "Fig shortcuts",
  subcommands: [
    {
      icon: "💻",
      name: "Jump to autocomplete repo",
      insertValue: "\b\bcd ~/.fig/projects/autocomplete\n",
      description: "Go ~/.fig/projects/autocomplete",
    },
    {
      icon: "🛠",
      name: "Start dev server",
      insertValue: "\b\bnpm run dev",
      description: "npm run dev",
    },
    {
      icon: "fig://icon?type=github",
      name: "withfig/autocomplete",
      insertValue: "\b\bopen https://github.com/withfig/autocomplete",
      description: "Open Fig Autocomplete Github page",
    },
    {
      icon: "fig://icon?type=github",
      name: "withfig/fig issues",
      insertValue: "\b\bopen https://github.com/withfig/fig/issues",
      description: "Open Fig Issues Github page",
    },
    {
      icon: "fig://icon?type=git",
      name: "Push to staging",
      insertValue: "\b\bgit push origin staging",
      description: "Push current repo to origin/staging",
    },
    {
      icon: "fig://icon?type=heroku",
      name: "View logs",
      insertValue: "\b\bheroku logs --tail",
      description: "Tail logs for current heroku app",
    },
    {
      name: "Good Morning! ☀️",
      icon: "☀️",
      description: "Update brew, NPM and node. Say an inspirational quote",
      insertValue: `
      brew update;
      npm install npm@latest -g;
      npm update -g;
      brew upgrade node;
      echo;
      npx -y fortuity | npx -y cowsay;
      echo;
      `
    },
  ],
};

export default completionSpec;
Now turn on dev mode
npm run dev
If you go to your terminal and type +[space] you will see all the shortcuts from above pop up.
How does this work?
The insertValue property is used to insert custom commands into the terminal. Note that each insertValue contains two \b characters. These are backspace characters that remove the + at the beginning, so what's entered into the terminal is exactly the content of the insertValue property. You can also include a \n character at the end to automatically execute the command
For more about customizing your suggestions, check out customizing suggestions.
What more do I need to do?
That's it. Dev mode compiles your specs from the src/ directory to the build/ directory. After turning off dev mode, you may need to restart Fig for changes to fully take effect.
If you make changes to your spec in the future, you can also just run npm run build to compile your spec.
What shortcuts should I add?
The example spec above includes a number of shortcuts for common dev workflows. For example, the first subcommand inserts a cd command with a predefined path into the terminal. Other use cases could be setting up shortcuts for deployment or getting to the right Github pages right from your terminal.
Tip: In dev mode, Fig looks for specs from your local
build/folder. When not in dev mode, we look in your~/.fig/autocomplete/buildfolder.
If you want to share your new with your team, check out the bottom of the Autocomplete for Teams guide.