Docs›Autocomplete for internal tools
Autocomplete for Private CLIs and Scripts
Build autocomplete for scripts and CLI tools that are not publicly available.
This guide walks you through how to create, test, and deploy private autocomplete specs for yourself or your team.

1. Create Completions
Fig offers two ways for you to generate a completion spec for your CLI tool.
2. Create a team
If you'd like to share completions with others, you'll need to be part of a team to distribute your CLI tool. If you don't already have a team, you can set one up by following this guide: Fig for Teams.
You can see a list of teams you're a part of by running:
fig team --list
3. [Scripts Only] Link your script to your hosted completion spec
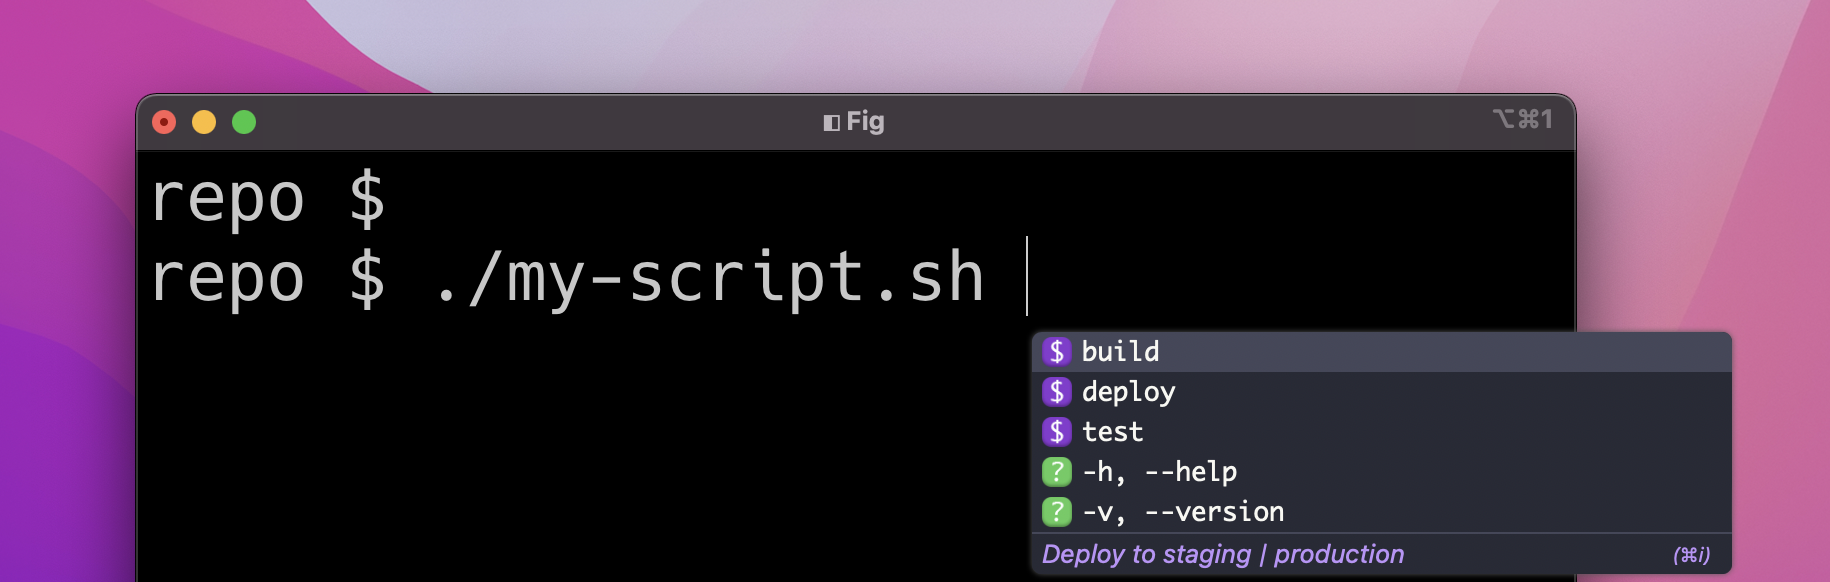
Are you building completions for a script? A script is an executable file like my-script.sh, test.js, or deploy.py. A script is different to a CLI tool in that it is invoked using a relative path e.g. I invoke a script by running ./my-script.sh rather than just my-script.sh.
If you are generating completions for a script, you will have to create a config file associating this script with your new completion spec.
4. Publish your spec
Finally, to publish your spec you can use npx @fig/publish-spec:
- If your spec is a script, you should pass the
--is-scriptflag - If you want to share your completions with a team, you should pass the
--teamflag:
# Personal, non-script spec
npx @fig/publish-spec --spec-path path/to/my-cli.ts

# Team spec
npx @fig/publish-spec --spec-path path/to/my-cli.ts --team apple

# Script spec
npx @fig/publish-spec --spec-path path/to/my-cli.ts --is-script

# Team script spec
npx @fig/publish-spec --spec-path path/to/my-cli.ts --team apple --is-script